Adobe Lightroom has become a staple in the toolkits of photographers and photo editors worldwide. Whether you’re a seasoned professional or a beginner, Lightroom offers a wide range of powerful tools to help you transform your photos into stunning masterpieces. In this guide, we’ll walk through the essential steps to edit photos in Lightroom, from importing images to making complex adjustments. Let’s dive in!
Getting Started with Lightroom
Before you can edit your photos, you’ll need to set up Lightroom on your device. Lightroom is available as both Lightroom Classic, which is desktop-focused, and Lightroom CC, a cloud-based version that syncs your edits across devices.
1. Installing and Setting Up Lightroom
- You can download Lightroom through Adobe’s Creative Cloud. Once installed, open the application and sign in using your Adobe ID.
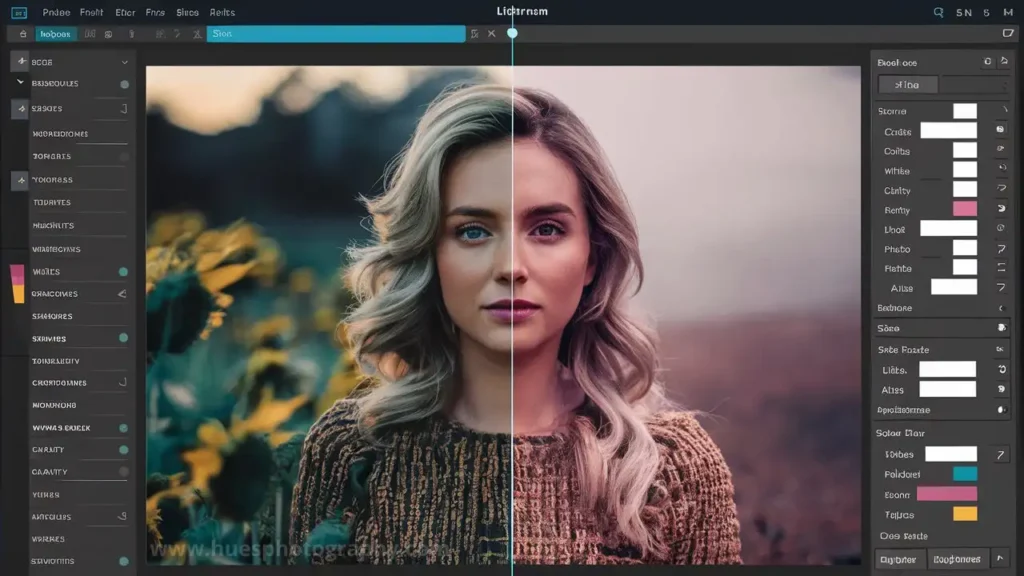
2. Overview of Lightroom’s Interface
- Library Module: This is where you can organize and view your photos.
- Develop Module: This is where most of the editing magic happens.
- Other Modules: There are also modules for slideshows, printing, and web galleries, but for editing, you’ll spend most of your time in the Develop module.
Importing Photos into Lightroom

The first step in your editing journey is to import your photos into Lightroom.
Step-by-Step Process to Import Photos:
- Click the “Import” button in the Library module.
- Choose the source (camera, SD card, or hard drive).
- Select the photos you want to import.
- Organize your files by using Collections to group them, and add Keywords for easy searching.
Organizing your photos during the import process makes future editing and navigation more efficient.
Basic Photo Editing in Lightroom
Once your photos are imported, it’s time to jump into the Develop module for basic edits.
Exposure Adjustments:
- If your image is too dark or too light, you can fix it using the Exposure slider. Simply drag it left to decrease brightness or right to increase it.
Contrast and Brightness Controls:
- Use the Contrast slider to make the differences between light and dark areas pop.
Cropping and Straightening:
- Use the Crop tool to refine the framing and composition of your image. You can also straighten your horizon if it’s a bit off.
Mastering the Develop Module
The Develop module is where most of your Photography editing will happen. Familiarizing yourself with its tools is crucial for improving your photo editing skills.
Essential Tools:
- Histogram: This graph shows you the distribution of light in your image. It’s an essential guide for making sure your exposure is balanced.
- Sliders: Adjust sliders like Highlights, Shadows, Whites, and Blacks to control the light and dark areas of your image.
Correcting Exposure and White Balance

Bad lighting happens. Fortunately, Lightroom can fix that!
Exposure: Adjusting exposure can correct images that are underexposed or overexposed.
White Balance: Use the Temperature slider to warm up or cool down your image. If the lighting in your image seems off (too blue or too yellow), white balance adjustments can fix that.
Enhancing Colors in Lightroom
A vibrant photo can make all the difference, and Lightroom’s color tools make it easy to enhance the hues in your images.
HSL Sliders:
- Hue adjusts the color tones.
- Saturation increases or decreases color intensity.
- Luminance affects the brightness of specific colors.
Color Grading: This advanced technique allows you to change the mood of your image by altering the color tones in highlights, mid-tones, and shadows.
Sharpening and Noise Reduction

Sharpening: The Sharpening tool brings out details in your image. However, be careful not to overdo it, as too much sharpening can make your photo look unnatural.
Noise Reduction: If you’re working with low-light photos, you’ll likely encounter some noise (graininess). The Noise Reduction tool helps smooth out that grain.
Working with Presets in Lightroom
Presets are a great way to speed up your editing process, and Lightroom comes with several built-in options.
Using and Installing Presets:
- You can apply a preset with one click, instantly transforming your photo. Additionally, you can download or purchase presets online, or create your own for future use.
Advanced Editing Techniques
Selective Adjustments:
- Use the Adjustment Brush to make changes to specific parts of your image, such as increasing exposure only on a subject’s face.
- Radial and Graduated Filters are perfect for creating localized adjustments, such as brightening the sky or darkening the edges.
Lens Corrections and Transformations

Some lenses cause distortion, especially wide-angle lenses. Lightroom has a built-in Lens Correction tool to fix this.
Straightening Images:
- Use the Transform tool to straighten images with a crooked horizon or architectural distortions.
Using the Tone Curve
The Tone Curve is a powerful tool for creating contrast and adding depth to your images. By adjusting the curve, you can control the tones in your image more precisely than with basic sliders.
Enhancing Details with Clarity and Texture

The Clarity tool enhances mid-tone contrast, making your image look sharper and more defined. The texture does something similar but works on finer details, making it ideal for bringing out surface details like skin texture or fabric.
Exporting Photos from Lightroom
Once your editing is complete, it’s time to export your photos.
Export Settings:
- Choose the desired file format (JPEG, TIFF, etc.).
- Set the resolution based on whether you’re exporting for web or print. For online sharing, a resolution of 72 DPI is sufficient, while prints require at least 300 DPI.
Conclusion
Adobe Lightroom is a potent photo editing tool, and once you get comfortable with its various features, the possibilities for enhancing your images are endless. Whether you’re fixing exposure, adjusting colors, or applying advanced filters, Lightroom makes it easy to create professional-quality edits.
FAQs
1. How do I improve my editing speed in Lightroom?
- Use keyboard shortcuts and presets to speed up your workflow.
2. Can I edit RAW photos in Lightroom?
- Yes, Lightroom is designed to handle RAW files, giving you more post-processing flexibility.
3. How does Lightroom Classic differ from Lightroom CC?
- Lightroom Classic is desktop-based and offers more advanced features, while Lightroom CC is cloud-based and geared towards editing on the go.
4. How do I sync my Lightroom edits across devices?
- If you’re using Lightroom CC, your edits are automatically synced across all your devices through the cloud.
5. What are some free alternatives to Lightroom?
- Free alternatives include Darktable, RawTherapee, and GIMP, though they may not offer the same streamlined workflow as Lightroom.
6. Is Lightroom good for beginners?
- Absolutely! Lightroom is designed with an intuitive interface that makes it easy for beginners to start editing, while also offering advanced tools for more experienced users.
7. What’s the difference between Lightroom and Photoshop?
- Lightroom is primarily for managing and editing large collections of photos with non-destructive edits, while Photoshop is a more advanced tool for pixel-level editing, manipulation, and graphic design.
8. Can I recover lost details in overexposed or underexposed photos?
- Yes, Lightroom’s sliders for Highlights, Shadows, Whites, and Blacks can help recover details in overexposed or underexposed areas, though there are limits depending on the image quality.
9. What are non-destructive edits in Lightroom?
- Non-destructive editing means that your original photo file is never altered. All changes you make are saved separately, allowing you to revert to the original at any time.
10. Can I batch-edit photos in Lightroom?
- Yes, Lightroom allows you to apply edits to multiple photos at once using the Sync feature or by copying and pasting settings between images, which is a huge time-saver when working with large photo shoots.