Astrophotography, or photographing the stars, may seem like a daunting task, but with the right knowledge and a little bit of practice, it’s a rewarding journey that anyone can embark on. Capturing the night sky’s natural beauty, including the stars, Milky Way, or even star trails, opens up a world of stunning visuals that are both inspiring and unforgettable.
In this guide, we’ll walk you through everything you need to know to Photograph the Stars, from gear selection to camera settings, and how to post-process your photos for professional-looking results. Ready to embark on this stellar adventure? Let’s dive in!
Understanding the Basics of Astrophotography
Astrophotography is the art of photographing celestial objects like stars, planets, and galaxies. Unlike daytime photography, where lighting and movement are relatively predictable, Photograph the Stars requires mastering low-light conditions, understanding longer exposures, and working with specialized settings. What makes this form of photography so unique is the challenge of working with distant, often faint objects against a deep black sky.
Choosing the Right Camera for Star Photography
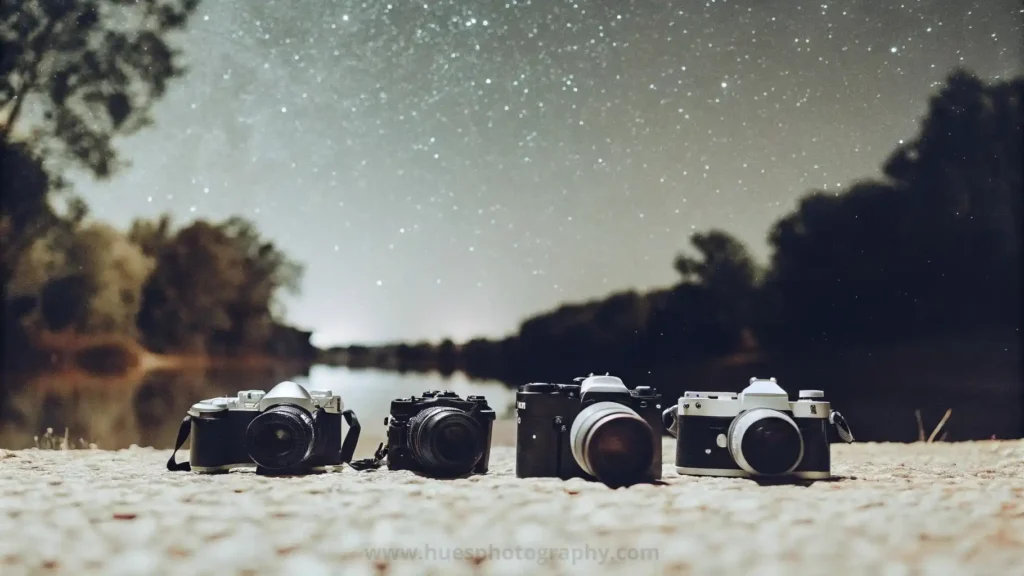
When it comes to photographing the stars, you don’t need the most expensive camera, but certain features can make your life much easier. DSLRs and mirrorless cameras are the most recommended options. A full-frame sensor is often preferred because it captures more light, resulting in better low-light performance and more detailed star images.
However, many entry-level APS-C cameras can also perform well. The key is to ensure your camera allows for manual control of settings like ISO, aperture, and shutter speed—critical factors for night photography.
Selecting the Perfect Lens for Star Photography
Selecting the right lens is equally as important as choosing the camera. For star photography, a wide-angle lens (such as 14mm to 24mm) is often preferred because it captures more of the sky in a single frame, providing breathtaking panoramic views. A fast lens (f/2.8 or faster) is ideal since it allows more light into the camera, which is crucial for night photography.
Prime lenses (which have a fixed focal length) tend to have better optics and let in more light, but zoom lenses can offer flexibility if you plan on capturing different kinds of compositions.
Essential Gear for Star Photography
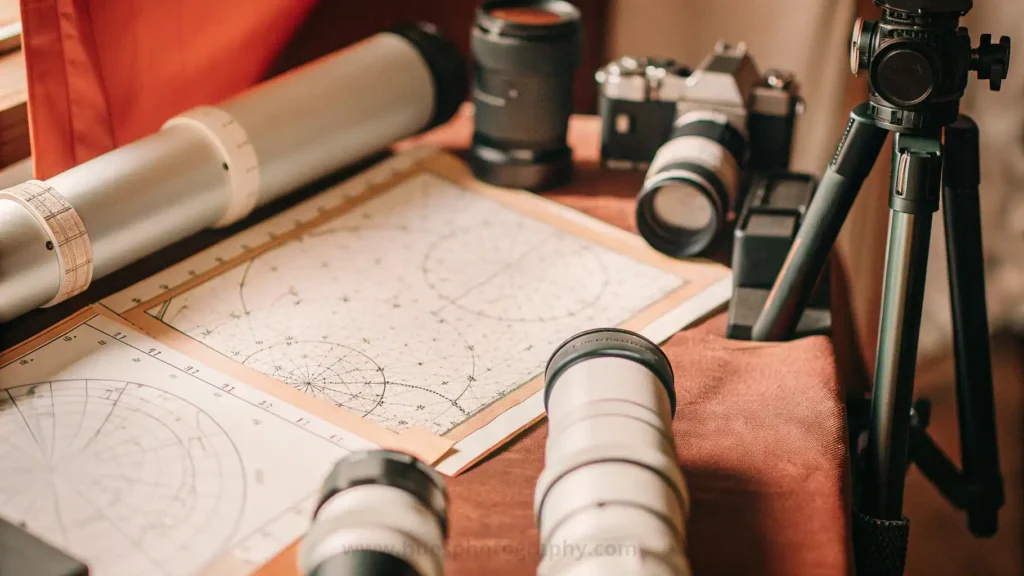
While the camera and lens are the stars of the show (pun intended), other equipment can make or break your star photography experience.
- Tripod: This is non-negotiable. Star photography involves long exposures, meaning any movement can blur the photo. A stable tripod is crucial for keeping your camera steady.
- Remote Shutter Release: Touching the camera to press the shutter button can cause an unwanted camera shake. A remote shutter or even your camera’s built-in timer can help avoid this issue.
- Lens Warmer or Heater: In colder climates, your lens may fog up due to condensation. A lens warmer can prevent this and keep your lens clear for long shoots.
How to Plan for a Star Photography Shoot
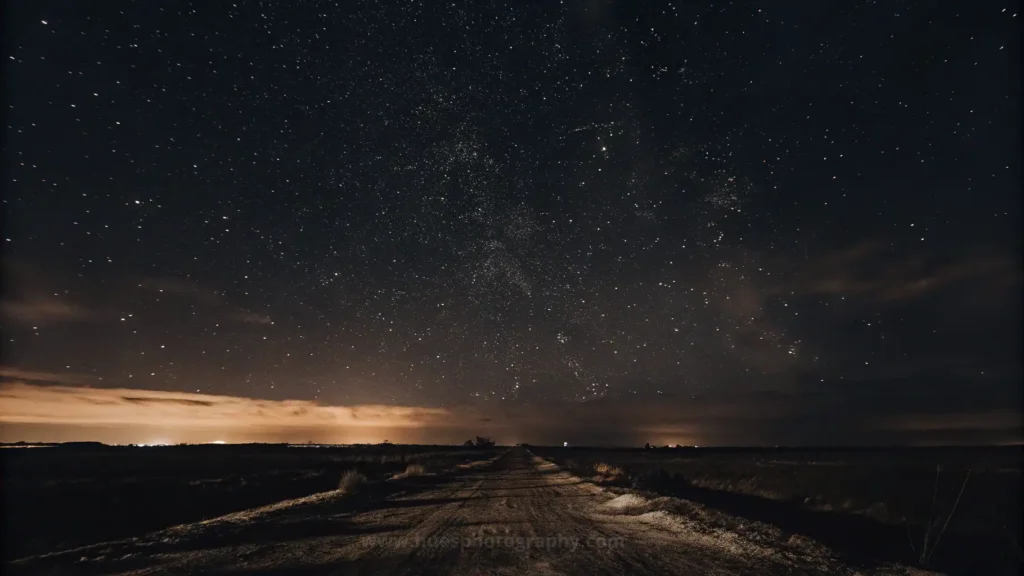
Planning is crucial for a successful star photography session. The first thing to consider is light pollution—the fewer artificial lights around, the better your stars will show up. Websites like Light Pollution Map or apps like Dark Sky Finder can help you locate the darkest areas near you.
Additionally, the weather plays a huge role. Clear skies are essential, and humidity or clouds can obscure the stars. Use apps like Clear Outside to predict weather conditions for your shoot.
Finally, time your shoot properly. The best time for star photography is during new moon phases when the sky is darkest. Apps like Stellarium help you find celestial events and the positions of stars and planets.
Mastering Camera Settings for Star Photography
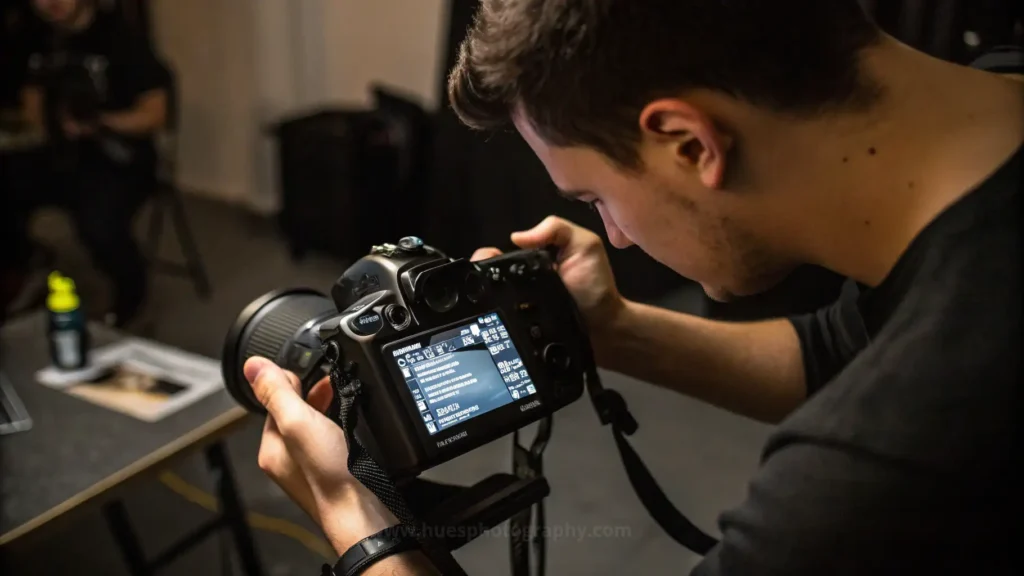
Your camera settings will determine the quality of your star photos. Here’s a general guide:
- Aperture: Shoot with a wide-open aperture (f/2.8 or lower) to let in as much light as possible.
- Shutter Speed: This depends on the focal length of your lens. Using the 500 Rule—500 divided by the focal length of your lens gives you the maximum shutter speed before stars start trailing due to Earth’s rotation. For example, if you’re using a 20mm lens, 500/20 = 25 seconds.
- ISO: This controls your camera’s sensitivity to light. Start with an ISO around 1600-3200. Higher ISOs will brighten your image but also introduce noise, so be cautious.
Focusing on Stars: The Challenges and Solutions
In low light, autofocus won’t function properly, so manual focus is necessary. Set your focus to infinity, but be careful—many lenses can focus beyond infinity, resulting in blurry stars. The best method is to zoom in using your camera’s live view of a bright star and adjust the focus until the star appears sharp.
Composing the Perfect Shot
Composition is just as important in star photography as it is in any other genre. Follow the rule of thirds, but also experiment with placing elements like the Milky Way or foreground objects—such as mountains or trees—into the frame. This adds depth and context to your starry images.
How to Capture Star Trails
Want to Photograph the Stars and create a magical swirl of star trails? You’ll need to take very long exposures or stack multiple shorter ones. For star trails, a shutter speed of several minutes (or even hours) can produce stunning results. Alternatively, you can shoot a series of shorter exposures and combine them in post-processing software like StarStaX.
Capturing the Milky Way
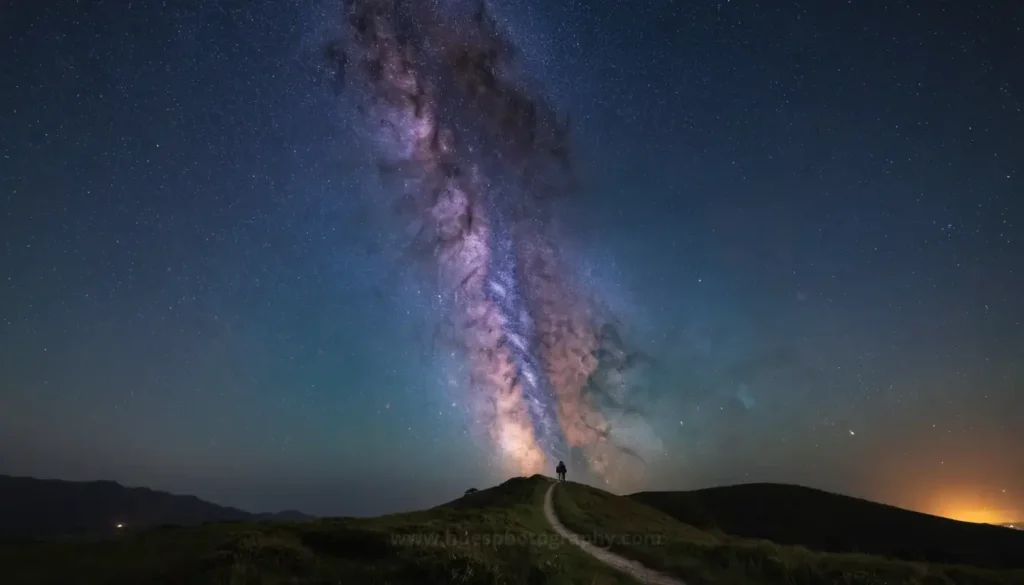
The Milky Way is one of the most stunning subjects in star photography, perfect for those looking to Photograph the Stars. It’s visible from late spring to early fall, depending on your location. Use apps like Photopills to track when and where the Milky Way will be visible.
Post-Processing Your Star Photos
Shooting in RAW is essential for post-processing, allowing you to adjust settings without losing image quality. Use software like Adobe Lightroom or Photoshop to enhance contrast, bring out the stars, and reduce noise. Pay particular attention to the white balance, as night skies tend to lean toward blue hues.
Dealing with Noise in Star Photography
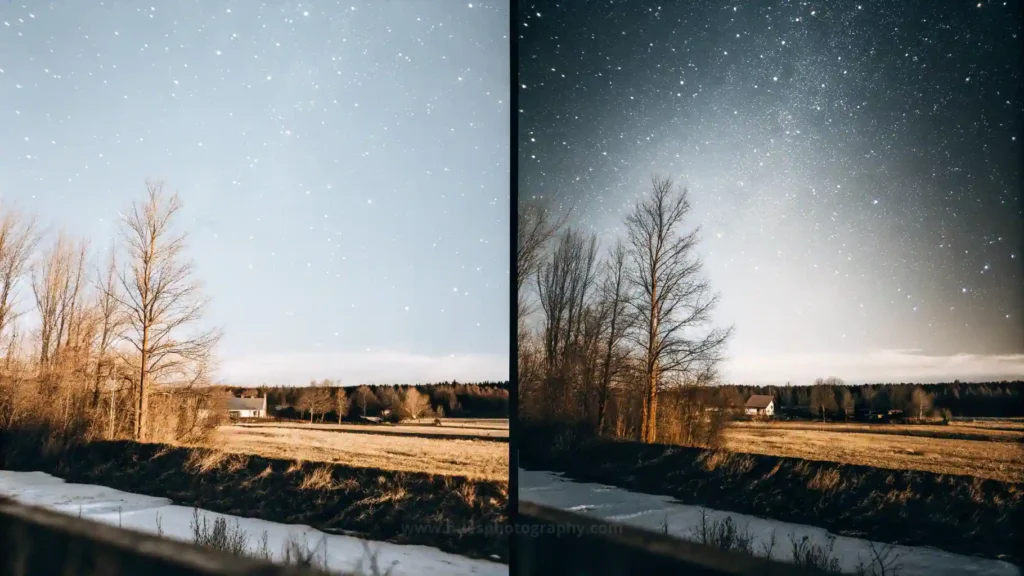
Use Lower ISO Settings
Tip: High ISO settings make your camera more sensitive to light, but they also introduce more noise, especially in dark areas of the image.
Solution: Try to keep your ISO as low as possible while still capturing enough light. Typically, an ISO of 1600 to 3200 works well for star photography, but experiment with the lowest ISO you can use without underexposing your shot.
Shoot in RAW Format
Tip: Shooting in JPEG compresses your image and loses detail, which limits your ability to reduce noise in post-processing.
Solution: Always shoot in RAW. RAW files retain more image data, which gives you greater flexibility to adjust exposure and reduce noise without sacrificing quality.
Use a Faster Lens
Tip: Lenses with smaller apertures (higher f-numbers) let in less light, which forces you to use higher ISO settings, resulting in more noise.
Solution: Use a fast lens with a wide aperture, like f/2.8 or lower. This allows more light to reach the sensor, reducing the need for high ISO and lowering the chance of noise.
Apply Noise Reduction in Post-Processing
Tip: Even with the best settings, some noise will still be present, especially in the shadows or darker parts of your image.
Solution: Use post-processing software like Adobe Lightroom, Photoshop, or Topaz DeNoise AI to reduce noise. Most editing programs have noise reduction sliders where you can control luminance and color noise reduction. Be careful not to overdo it, as too much noise reduction can soften details in your stars and foreground.
Use Longer Exposure Instead of a Higher ISO
Tip: Increasing your ISO brightens the image, but it also increases noise.
Solution: Instead of relying on high ISO settings, try using longer exposure times to gather more light. Use the 500 Rule (or 300 Rule for sharper stars) to determine the maximum exposure time you can use without creating star trails.
Common Mistakes in Star Photography and How to Avoid Them
- Using Autofocus in Low Light
Mistake: Relying on autofocus at night often leads to blurry images because cameras struggle to lock focus in low-light conditions.
Solution: Always switch to manual focus. Zoom in using your camera’s live view of a bright star or distant light, and adjust the focus until the object appears sharp.
- Choosing the Wrong ISO Settings
Mistake: Using either too low or too high an ISO can result in poor-quality images. A low ISO can make your photo too dark, while a high ISO introduces excessive noise.
Solution: Start with an ISO between 1600 and 3200, depending on your camera’s low-light performance. Adjust according to the conditions, balancing exposure and noise levels.
- Incorrect White Balance
Mistake: Many photographers leave their camera on auto white balance, which can result in unnatural colors in the night sky (often too blue or yellow).
Solution: Set your white balance manually. A good starting point is around 4000K to 5000K, which gives the stars a more neutral and natural color.
- Overlooking Weather Conditions
Mistake: Heading out to shoot without checking weather conditions can result in cloudy skies or high humidity, obscuring your view of the stars.
Solution: Always check weather apps like Clear Outside or AccuWeather to ensure clear skies. Avoid humid nights, as condensation can fog up your lens.
- Ignoring the Moon’s Phase
Mistake: Photograph stars when the moon is too bright washes out the night sky, making it difficult to capture stars.
Solution: Shoot during the new moon phase or when the moon is below the horizon. This ensures a darker sky, allowing stars to shine brighter in your photos.
Conclusion
Photograph the Stars may seem complex, but with practice and the right tools, it becomes an incredibly rewarding experience. Don’t get discouraged if your first few shots don’t come out perfectly—it’s all part of the learning process. Keep experimenting, and soon you’ll be capturing the night sky like a pro.
FAQs
1. What is the best time of year to photograph the stars?
- The best time for star photography is during the new moon phase, especially from late spring to early fall when the Milky Way is most visible.
2. Can you photograph stars with a smartphone?
- While DSLR and mirrorless cameras offer the best results, some high-end smartphones with manual settings can capture stars, especially with the help of tripods and long exposure apps.
3. Do I need expensive gear to start photographing stars?
- Not necessarily. Entry-level cameras and kit lenses can still capture great star photos with the right technique and settings.
4. How do I avoid lens fogging during long exposures?
- A lens warmer or keeping your camera in a warmer environment before shooting can prevent condensation.
5. What’s the best way to reduce noise in star photos?
- Shoot with a lower ISO when possible, and use noise reduction software like Lightroom or Topaz Denoise AI in post-processing.
6. How do I find the best locations for star photography?
- Look for areas far from city lights with minimal light pollution. National parks, remote rural areas, and high-altitude locations are great for dark skies. You can use apps like Dark Sky Finder or Light Pollution Map to locate optimal stargazing spots.
7. How long should I expose my shots to capture star trails?
- For star trails, you can expose them for anywhere between 10 minutes to several hours. Longer exposures will result in more prominent trails, or you can take multiple shorter exposures (like 30-second shots) and stack them in post-processing for a similar effect.
8. What is the 500 rule, and how does it work?
- The 500 Rule helps you avoid star trails when photographing stars as points of light. Divide 500 by the focal length of your lens to get the maximum exposure time (in seconds) before the stars begin to blur. For example, if you’re using a 20mm lens, your maximum shutter speed should be around 25 seconds.
9. Can I shoot star photos in cities with light pollution?
- While it’s challenging, it’s not impossible. To combat light pollution, use a light pollution filter and adjust your camera settings for shorter exposures. You may also have to enhance the contrast and remove the orange glow during post-processing.
10. What is the Milky Way core, and when can I see it?
- The Milky Way core is the brightest and most photogenic part of our galaxy. It’s typically visible from late spring to early fall, especially between April and September in the Northern Hemisphere. Use apps like Photopills or Stellarium to track the core’s visibility in your location.