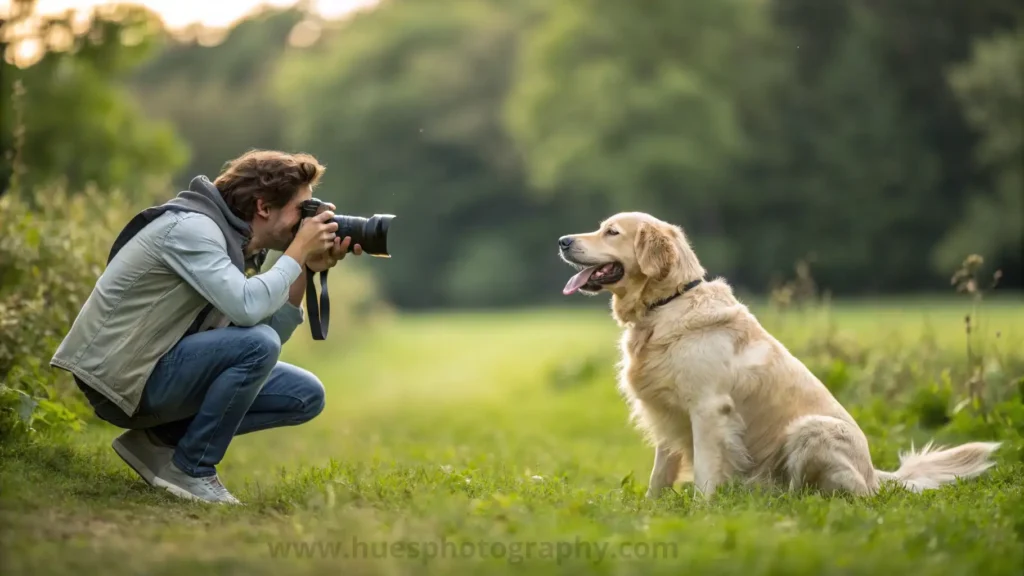
Photographing wildlife is an exhilarating and rewarding experience. Whether you’re in the heart of a dense jungle, the edge of a serene lake, or even your backyard, capturing animals in their natural habitat requires both technical skills and a deep understanding of the creatures you’re photographing. In this guide, we’ll dive into tips that will help you elevate your wildlife photography and bring those breathtaking moments to life.
Introduction to Wildlife Photography
Wildlife photography combines the thrill of adventure with the challenge of capturing animals in their most authentic and unpredictable moments. Unlike studio photography, you have no control over your subject, the lighting, or often even your surroundings. This unpredictability makes wildlife photography both rewarding and challenging.
If you’re new to wildlife photography or looking to improve your skills, it all starts with knowing your subjects and being ready at the right moment. From understanding animal behavior to mastering your camera settings, these tips will guide you to capturing stunning wildlife images.
Understanding Animal Behavior
The key to great wildlife photography lies in knowing your subject. Animals are unpredictable, but with enough observation, you can start to see patterns in their behavior.
Importance of Patience and Observation
Patience is arguably the most essential tool in a wildlife photographer’s arsenal. Observing animals quietly from a distance helps you understand their behavior. Learn to predict when a bird will take flight or when a deer is about to turn its head. The more time you spend observing, the better your chances of capturing those rare, candid moments.
Essential Gear for Wildlife Photography
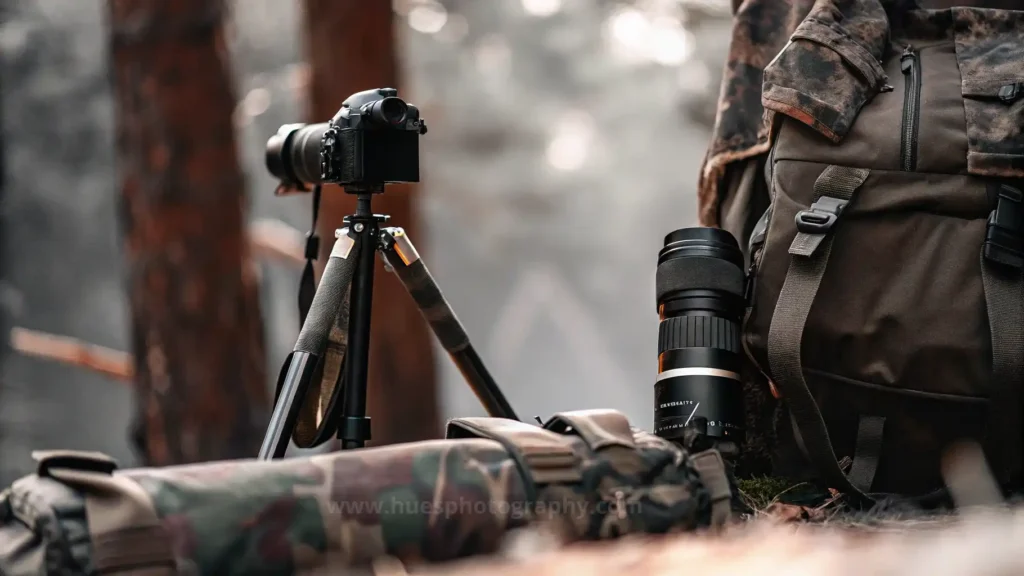
Cameras and Lenses
Choosing the right camera and lenses can make a huge difference in wildlife photography. A camera with fast autofocus and high burst mode is ideal, while a long telephoto lens (200mm or longer) will allow you to photograph animals from a safe and respectful distance.
Tripods and Stabilization Tools
Using a tripod, especially for slow-moving or stationary animals, can help reduce camera shake, particularly when using long focal lengths. For more mobile shots, a monopod or image-stabilized lens can be invaluable.
Binoculars and Field Guides
Having a pair of binoculars allows you to spot animals from afar, and field guides can help you identify different species, especially if you’re photographing in unfamiliar terrain.
Choosing the Right Settings
Shutter Speed and Motion
Wildlife is often in motion. To freeze that motion and capture a sharp image, a fast shutter speed (1/1000 sec or higher) is necessary. Adjusting your settings to match the speed and activity of the animal can make a big difference between a blurry shot and a sharp, clear image.
Aperture and Depth of Field
A wide aperture (like f/2.8 or f/4) will create a shallow depth of field, blurring the background and bringing attention to your subject. This works especially well when the environment is busy or cluttered.
ISO Sensitivity
Since wildlife photography often takes place in challenging lighting conditions, you’ll need to adjust your ISO to compensate. Higher ISO settings allow you to maintain a fast shutter speed in low light but be cautious as it can introduce noise.
Mastering the Art of Composition
Rule of Thirds in Wildlife Photography
Placing your subject off-center, following the rule of thirds, helps create more dynamic and engaging images. Experiment with framing the animal to the left or right of the frame while leaving negative space for a more natural feel.
Capturing Animal Expressions and Movements
Animal expressions, such as a lion’s roar or a bird’s tilt of the head, convey emotion and action. Capture these moments by focusing on the eyes or gestures that make the scene more compelling.
Lighting: Harnessing Natural Light

Best Times for Wildlife Photography (Golden and Blue Hours)
The golden hour (right after sunrise or before sunset) provides soft, warm lighting that flatters both landscapes and animals. Similarly, the blue hour, right before sunrise or after sunset, offers cool, diffused lighting ideal for more dramatic shots.
Overcast Days and Diffused Light
Don’t shy away from cloudy days. Overcast skies provide soft, even lighting, reducing harsh shadows and highlighting details in your subject.
Staying Ethical While Photographing Wildlife
Minimizing Disturbance to Animals
It’s vital to respect the animals and their habitat. Avoid getting too close or making loud noises that could disturb them. Use a telephoto lens to maintain a safe and comfortable distance.
Respecting Nature and Following Guidelines
Many natural areas have specific rules about wildlife interaction. Always follow these guidelines, such as staying on designated trails and not feeding wild animals. Your responsibility as a photographer is to leave no trace behind.
Techniques for Photographing Birds

Understanding Bird Movements
Birds are fast and unpredictable, making them challenging to photograph. Learn their behavior, such as when they’re likely to take off or land, to anticipate the perfect shot.
How to Frame Birds in Flight
Capturing birds in flight requires practice. Use continuous autofocus and a fast shutter speed to freeze their movement. Panning with the bird as it flies can also result in a dynamic, action-packed shot.
Photographing Mammals in the Wild
Approaching Animals Without Startling Them
Wild mammals are often shy or wary of humans. Move slowly and remain downwind to avoid being detected. Avoid sudden movements, and be patient when trying to get close.
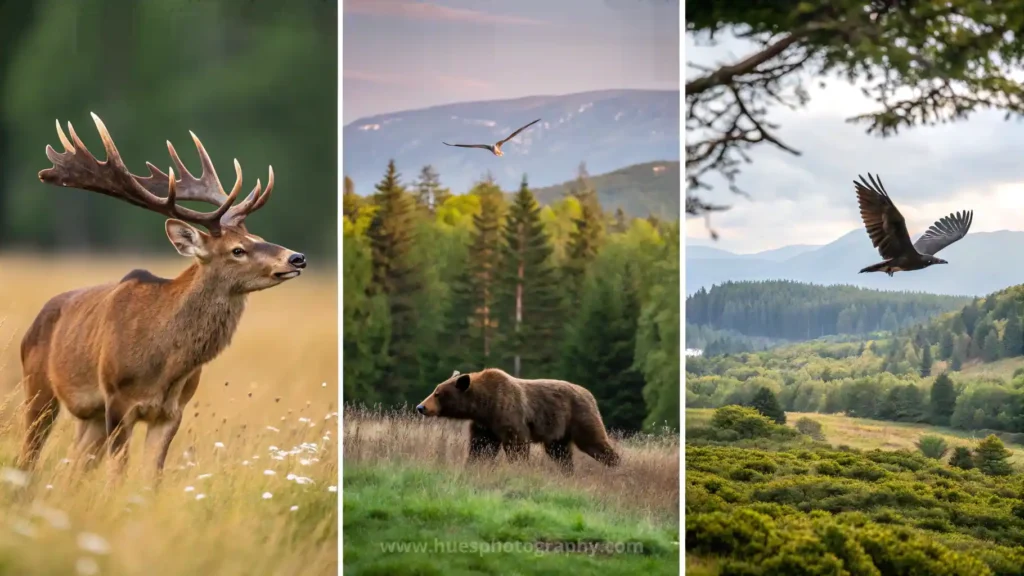
How to Photograph Large and Small Mammals
For larger mammals like elephants or deer, frame them within their natural environment to provide context. For smaller animals, zoom in and use a shallow depth of field to isolate them from the background.
Shooting Reptiles and Amphibians

Tips for Close-Up Shots
When photographing reptiles or amphibians, focus on getting close-up shots that showcase the texture of their skin. A macro lens can help highlight these intricate details.
Safety Measures for Photographers
Remember that many reptiles, such as snakes, can be dangerous if approached too closely. Always maintain a safe distance and never touch or handle wild animals.
Using Camouflage and Blinds
How to Stay Hidden for Better Shots
Camouflage clothing and portable blinds can help you stay hidden, allowing animals to continue their natural behaviors. This increases your chances of capturing genuine moments without disturbing them.
Post-Processing Tips for Wildlife Images
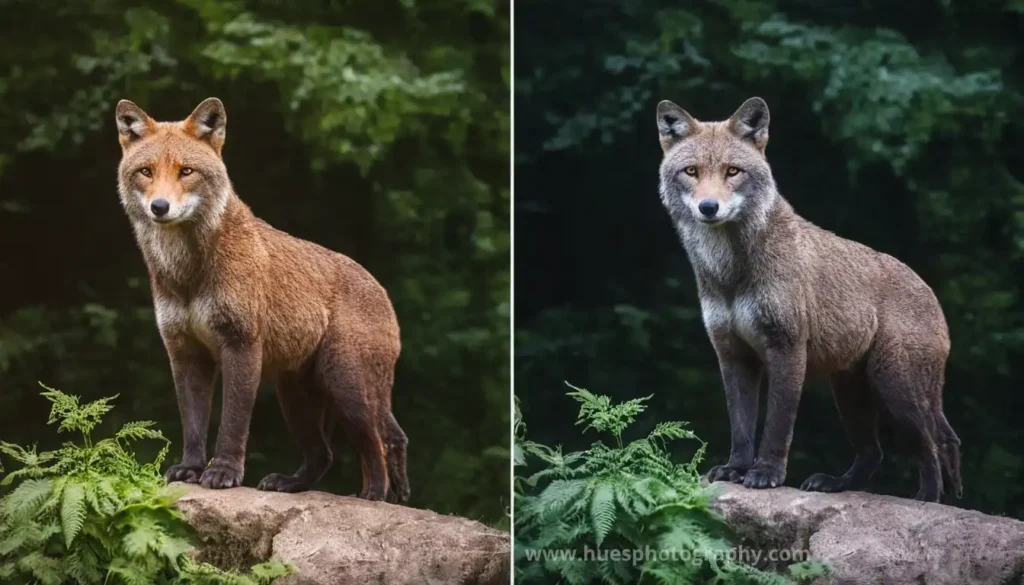
Enhancing Sharpness and Colors
Post-processing can bring out the best in your wildlife images. Sharpening the details and boosting the colors can help the subject stand out. However, avoid over-editing, as you want the final image to reflect the natural beauty of the scene.
Reducing Noise in High ISO Images
If you’ve shot in low light with a high ISO, you may encounter noise. Use noise reduction tools in photo editing software to clean up the image while retaining detail.
Storing and Backing Up Your Photos
Wildlife photography often involves capturing hundreds, if not thousands, of photos in a single shoot. Properly storing and backing up your images ensures that your hard work is preserved and protected. Here are some tips and best practices for safely managing your wildlife images:
Organize Your Files
After a day in the field, it’s easy to accumulate large numbers of photos. Create a system to organize your files, starting with folders labeled by date, location, or specific wildlife species. This method makes it easier to retrieve specific images later without having to sift through an unorganized mess of files. Use descriptive file names to identify shots without having to open each one.
Use External Hard Drives
External hard drives are an efficient way to store large volumes of photos, particularly RAW files, which take up significant space. Choose drives with large storage capacities (at least 1TB) and prioritize drives with fast data transfer speeds. For extra security, consider investing in two drives—one for primary storage and another for backing up your main drive.
Cloud Storage Solutions
Cloud storage provides an additional layer of protection for your photos. Services like Google Drive, Dropbox, or dedicated photo platforms like Adobe Creative Cloud and SmugMug offer secure, remote storage. The advantage of cloud storage is that it allows you to access your photos from anywhere and protects them from physical damage (e.g., in case of hard drive failure or accidental damage).
Use RAID Systems for Extra Protection
If you’re handling an extensive collection of wildlife photos and need extra security, consider using a RAID (Redundant Array of Independent Disks) system. RAID allows you to store data across multiple hard drives in such a way that if one drive fails, your data remains safe on the others. RAID systems are an excellent choice for professional photographers who can’t afford to lose any images.
Backup Regularly
Don’t rely on storing photos in one place. Set a schedule to regularly back up your files, either daily, weekly or after each shoot. Automate this process if possible, using backup software to sync your files to external drives or cloud services. Regular backups ensure that even if something goes wrong, you won’t lose large amounts of data.
How to Improve Through Practice
Wildlife photography is a craft that takes time, patience, and practice to master. Like any skill, improvement comes from continuous effort and learning from both successes and mistakes. Here are some strategies to help you enhance your wildlife photography skills through consistent practice:
Review and Analyze Your Photos
One of the best ways to improve is by reviewing your work regularly. After each shoot, take time to analyze your photos. What worked well? Which images are your favorites, and why? At the same time, look for areas where your shots could be better. Is the composition off? Is the subject not sharp enough? Did you miss capturing an animal’s key moment? Identifying these issues will help you avoid similar mistakes in the future.
Learn from Your Mistakes
Every photographer, regardless of experience level, makes mistakes. Whether it’s using the wrong settings or missing a great shot because of slow reaction time, the key is to learn from these moments. Don’t be discouraged if you have a day where nothing seems to go right. Instead, embrace these mistakes as learning opportunities. Over time, you’ll develop a sharper eye and quicker reflexes, helping you to improve gradually with each outing.
Practice in Different Environments
Nature is diverse, and so are wildlife habitats. To become a well-rounded wildlife photographer, practice in various environments and conditions. Try photographing birds in your backyard, animals in the forest, or aquatic life near lakes or rivers. Each setting presents its unique challenges, from lighting conditions to the behavior of different species. Practicing in varied environments ensures you’ll be adaptable and prepared for any situation.
Experiment with Camera Settings
Don’t stick to the same camera settings every time you shoot. Try experimenting with different shutter speeds, apertures, and ISO settings to see how they affect your images. For example, practice capturing motion by using a fast shutter speed for birds in flight or using a slower speed to create a sense of movement with animals running. Play with depth of field by adjusting the aperture for different effects, such as blurring the background or keeping everything in focus. The more you experiment, the better you’ll understand how to use your camera to its full potential.
Focus on One Animal or Subject Type
Improving through practice doesn’t mean you need to chase after every kind of animal. Focusing on photographing one type of wildlife, such as birds, deer, or insects, allows you to hone your skills with that specific subject. You’ll become more familiar with their behaviors, movements, and ideal photography conditions. As you master one subject, you can start branching out to others, applying the skills you’ve learned.
Conclusion
Wildlife photography is a journey that rewards patience, persistence, and a deep respect for nature. By understanding animal behavior, using the right gear and settings, and adhering to ethical guidelines, you can capture incredible moments that resonate with viewers and tell a story about the beauty of the natural world.
FAQs
1. What is the best lens for wildlife photography?
- A telephoto lens with a focal length of 200mm or more is ideal for capturing wildlife from a safe distance.
2. What is the optimal time of day for photographing wildlife?
- The golden hour, right after sunrise or before sunset, offers the best natural lighting for wildlife photography.
3. How do I avoid scaring animals when photographing them?
- Move slowly, use a telephoto lens to maintain distance, and avoid loud noises.
4. What camera settings should I use for birds in flight?
- Use a fast shutter speed (1/1000 sec or higher) and continuous autofocus to capture birds in motion.
5. Can I use a smartphone for wildlife photography?
- While smartphones lack the zoom and detail of DSLR or mirrorless cameras, they can still capture decent shots of larger or closer animals with proper technique.
6. What are some essential skills for wildlife photography?
- Patience, observation, and a good understanding of animal behavior are key. Technical knowledge of your camera settings and composition is also essential.
7. How do I get sharp images in low-light conditions?
- Use a wider aperture (lower f-stop), increase your ISO, and if possible, use a tripod to stabilize your camera for slower shutter speeds.
8. How do I photograph fast-moving animals?
- Use a fast shutter speed (1/1000 sec or faster) and continuous autofocus to track and freeze the motion of fast-moving animals like birds or running mammals.
9. Should I use burst mode for wildlife photography?
- Yes, burst mode is useful for capturing a sequence of actions, especially for fast movements, like a bird taking flight or an animal jumping.
10. How do I protect my gear in harsh outdoor conditions?
- Use weatherproof covers for your camera and lenses, carry microfiber cloths to wipe moisture, and ensure you have padded bags for extra protection.